Tomorrow I set off to be a tudor at Kentwell Hall in Long Melford in Suffolk.
It’s been a fabulous journey so far but I think the best is yet to come!
My bags are packed, van all ready so time to sleep.
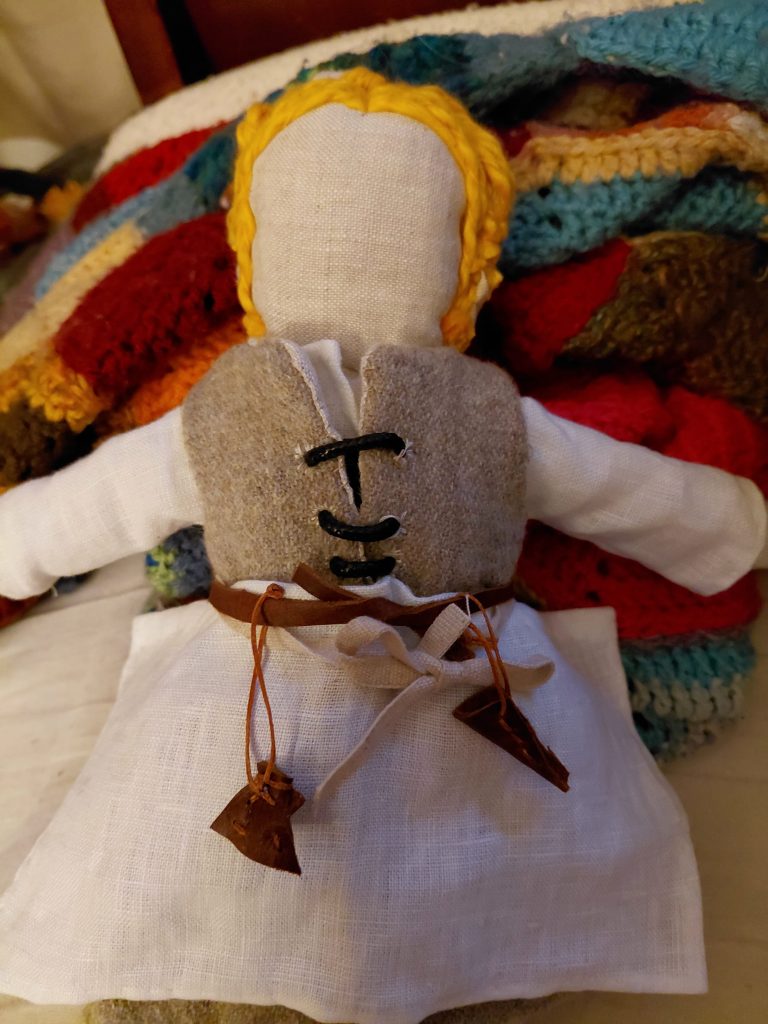
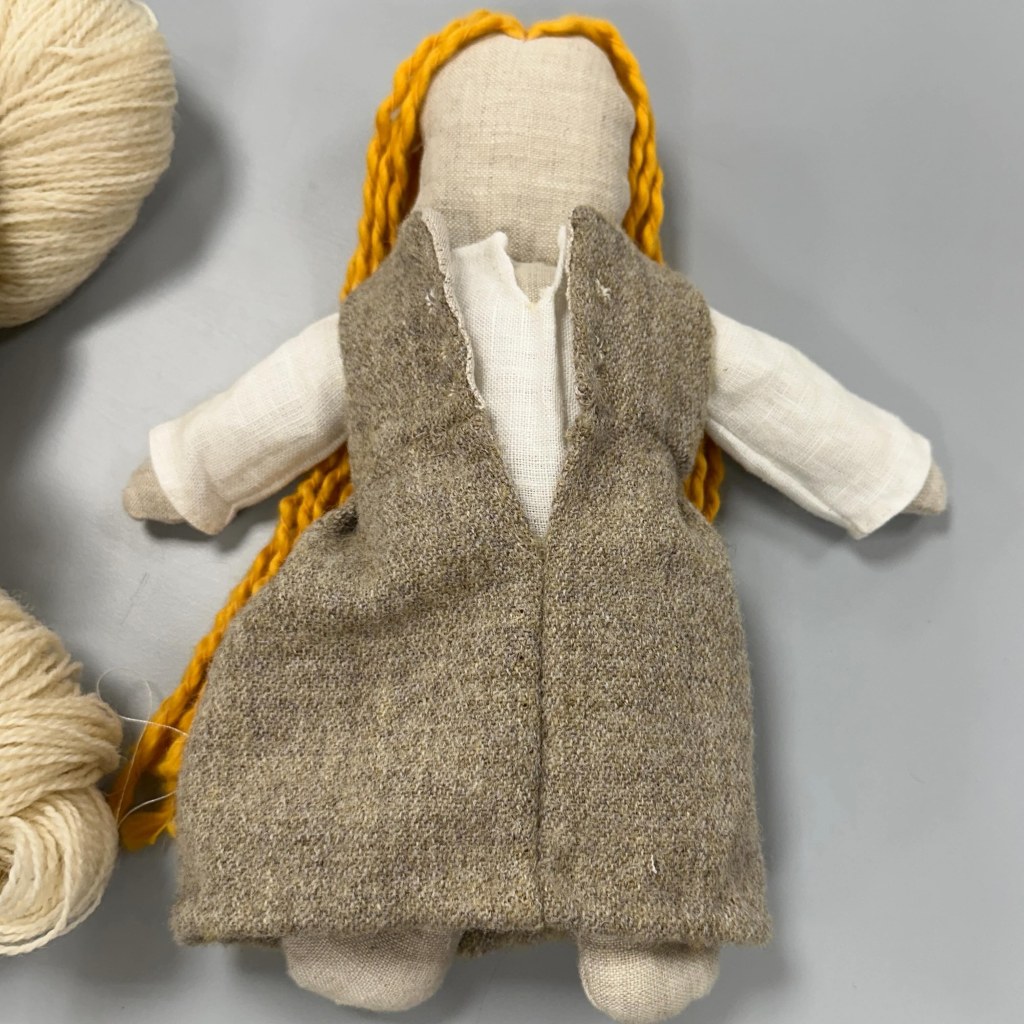
I’ve also been having fun with my scrap materials and made this, lovingly known as a poppet!
She’s not quite finished, still needs shoes and stockings, a coif (hat) and sleeves! Might even try and make a mini basket, or at least some Knitting or a spindle.
From tomorrow I’ll have no phone until I get home, no watch either! It’s going to be strange as we’re all so used to being in contact at all times.
I set off on Friday (19/6/25) one the next step in my journey back to 1553.
I’ve had to learn so much before hand, Tudor history, how tutors worked, ate, spoke. I have to be honest, I’ve truly enjoyed the planning.
I’ve made so many things now, or bought them where I couldn’t possibly make them. As well as the clothes there are lots of extras. I bought a knife, a bowl, a plate (most recently).
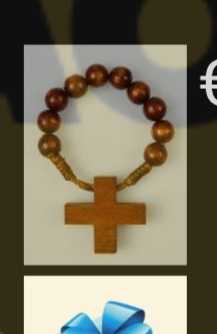
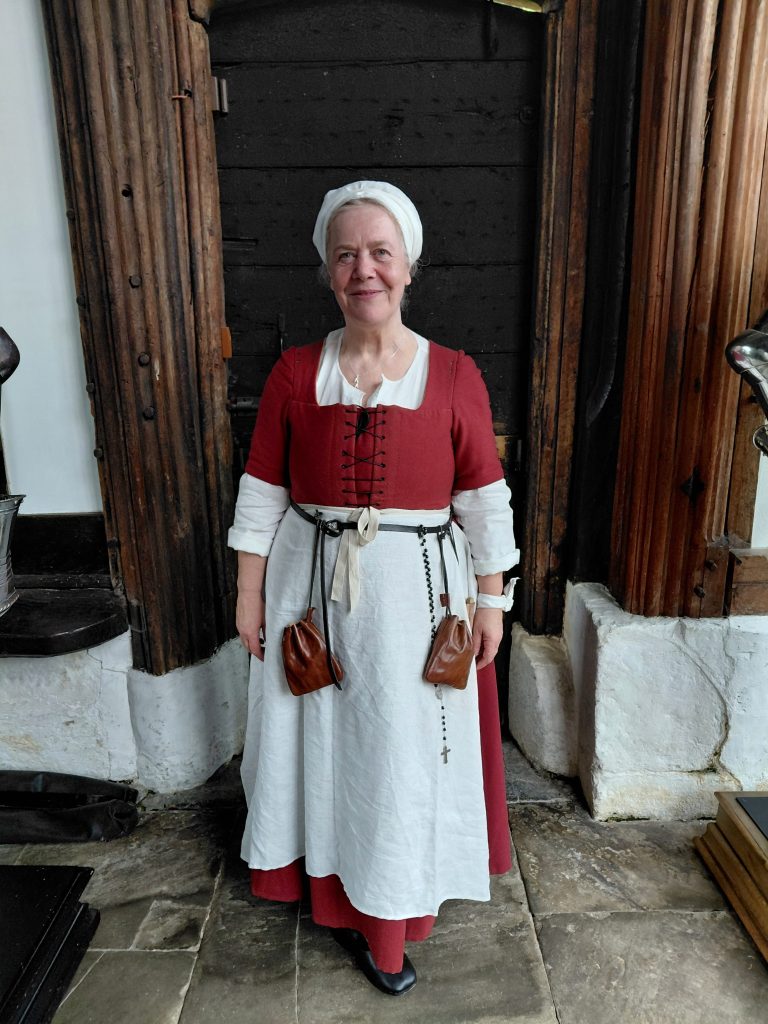
I want to have my rosary with me (I’m catholic) but it’s an Anglican time with Edward vi on the throne (just, he’s about to die sadly and won’t be seen at all this month but still…). A rosary didn’t really exist as it does now mostly referred to a paternoster, a string of beads with one decade of the rosary, alternatively it could be a ring. I bought a ring of beads. These will be hidden in a small woollen drawstring bag hidden in my kirtle.
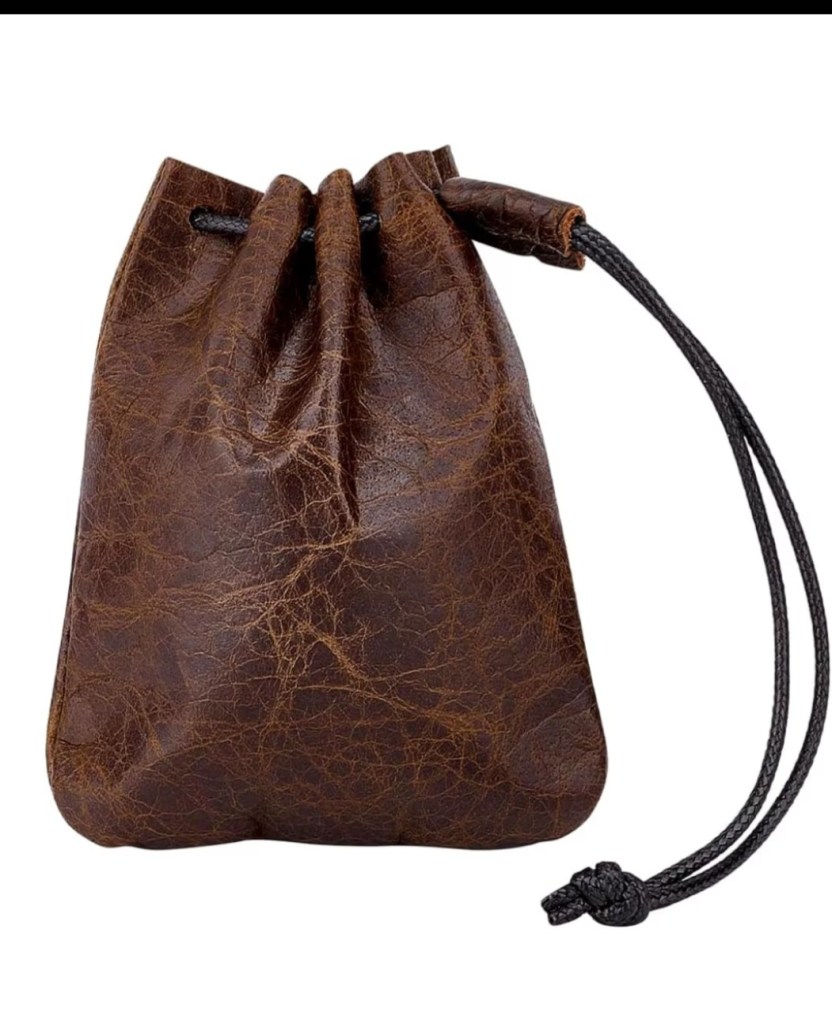
Then there are pockets. Tudor clothes didn’t include pockets so they had them in the firm of leather or maybe linen pockets hanging from their belt alongside the knife. I have two. One holds my comb and spoon, the other my handkerchief, some bone dice, coin (and my campervan key..I need a little luxury!) I also made a scissor holder and have Tudor style scissors, or snips.
In my basket (borrowed currently but will be replaced with my own) will hold my knitting, spinning, sewing, cup, bowl, plate.
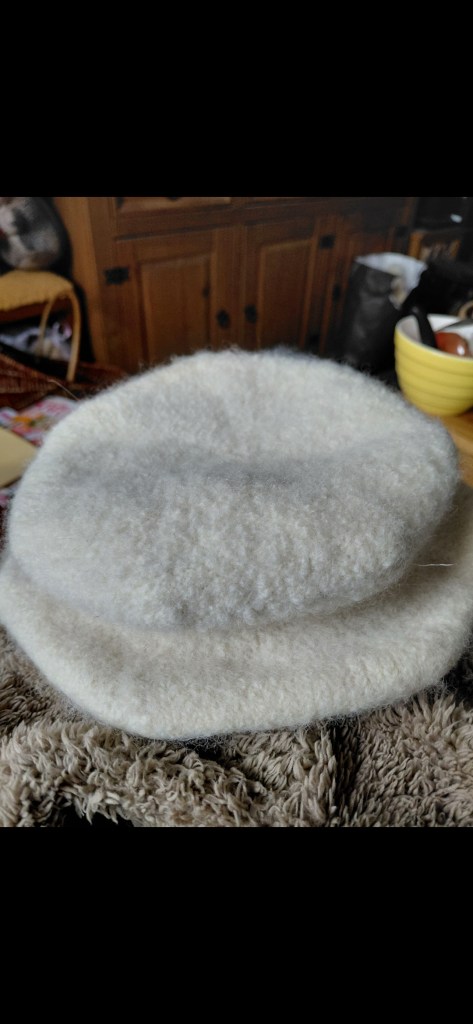
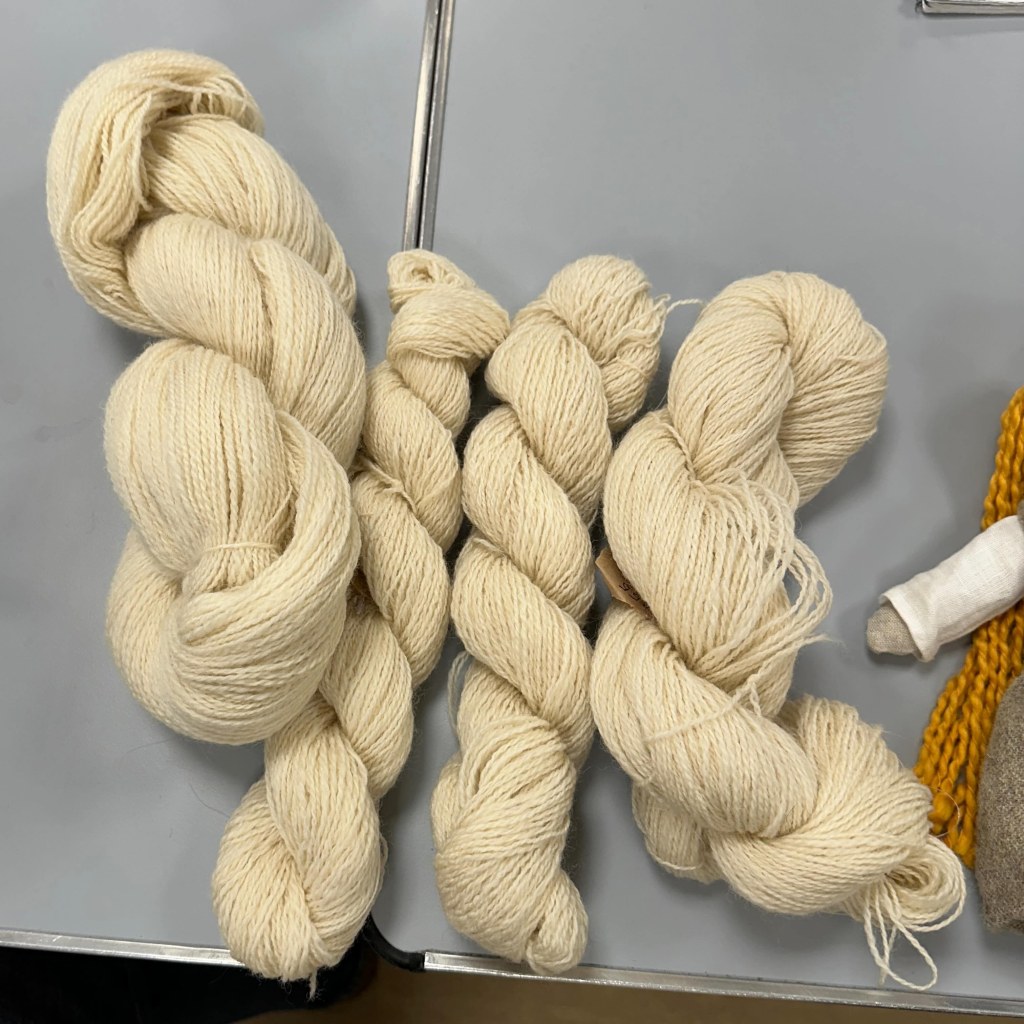
My knitting. Most people who know me know I love to knit. For my Tudor life I’ve spun some Cotswold fleece, old breed available at that time, having brass needles made, double pointed to make stockings. I’ve also made a linen bag to put it all in. I’ve knit a cap (two actually as the first was far too small!) and then felted it.
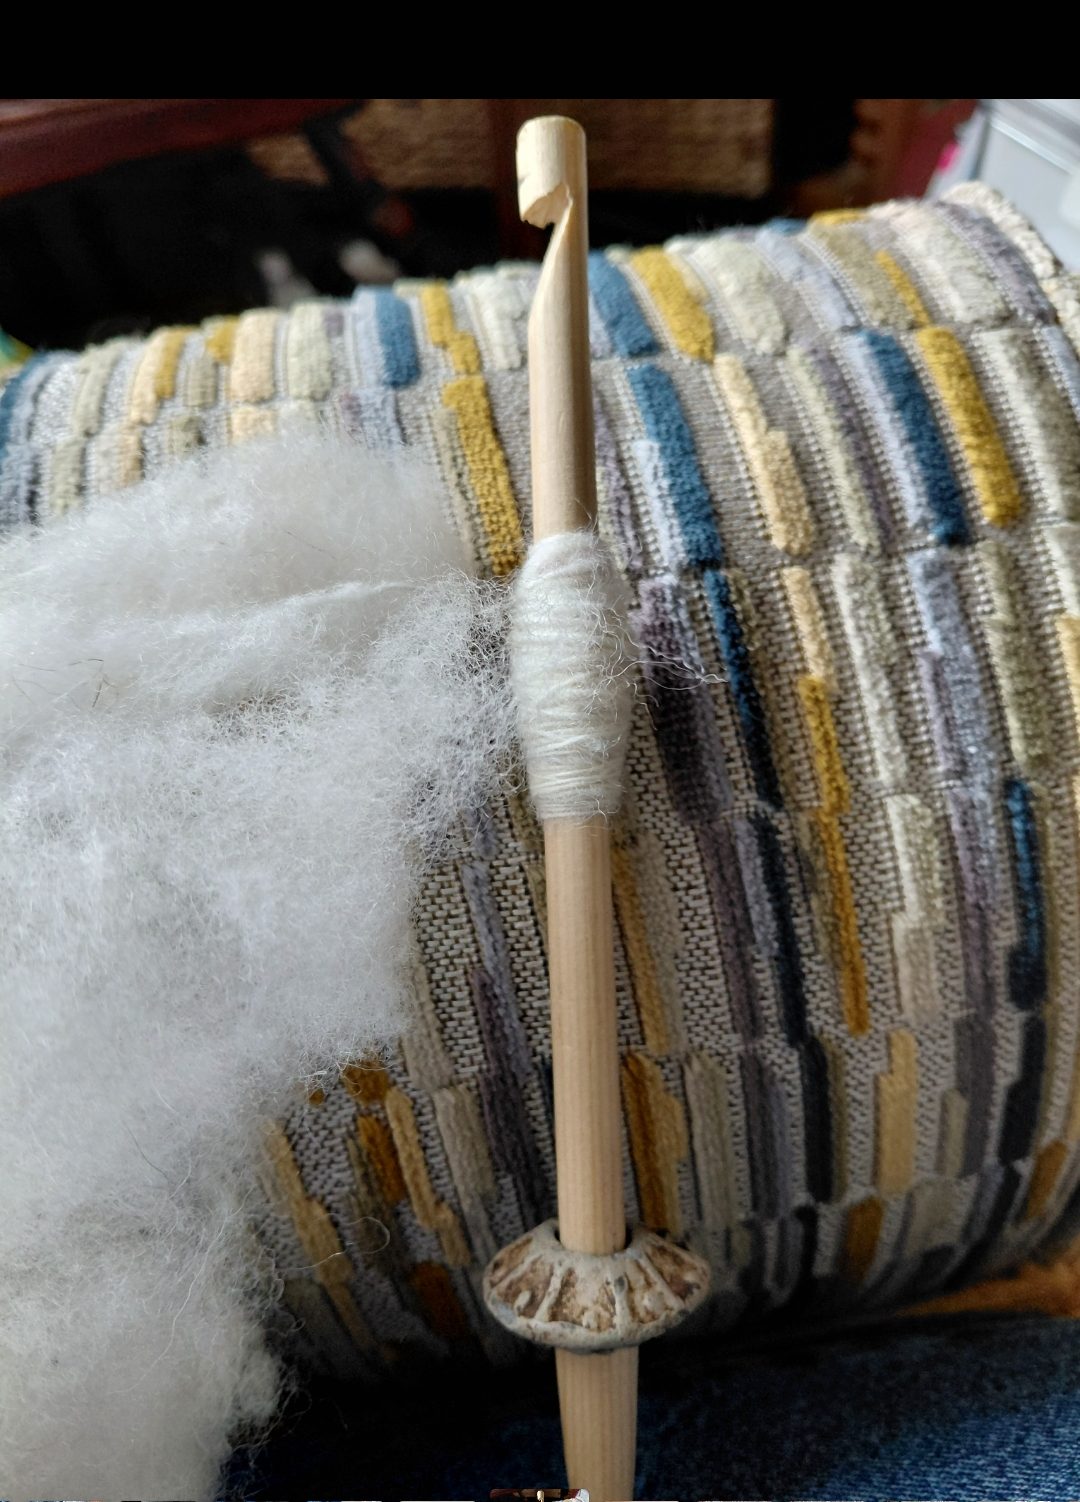
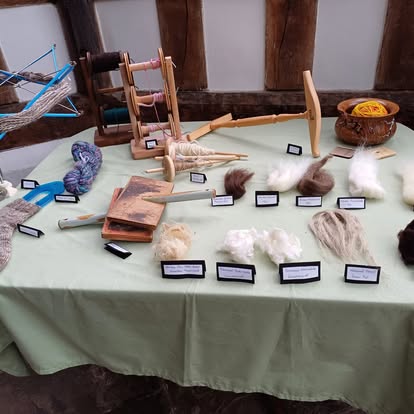
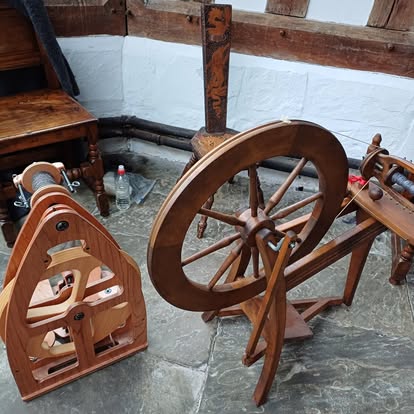
Spinning. I spin a lot but on modern wheels. In Tudor times it would be a wheel with a spindle, no treadle and no flyer. I’ve had a brief lesson on one so hopefully I’ll be ok. I also have a spindle whorl that’s 500 yrs old that I will be using..last used by a Tudor! Another pouch needed!
Sewing. As with knitting and spinning, almost everyone did these as well as sewing their own clothes. I’ll have spare linen in my basket with thread and needles. Idle hands are the devils work! I’ve also been making a linen doll with my scraps!
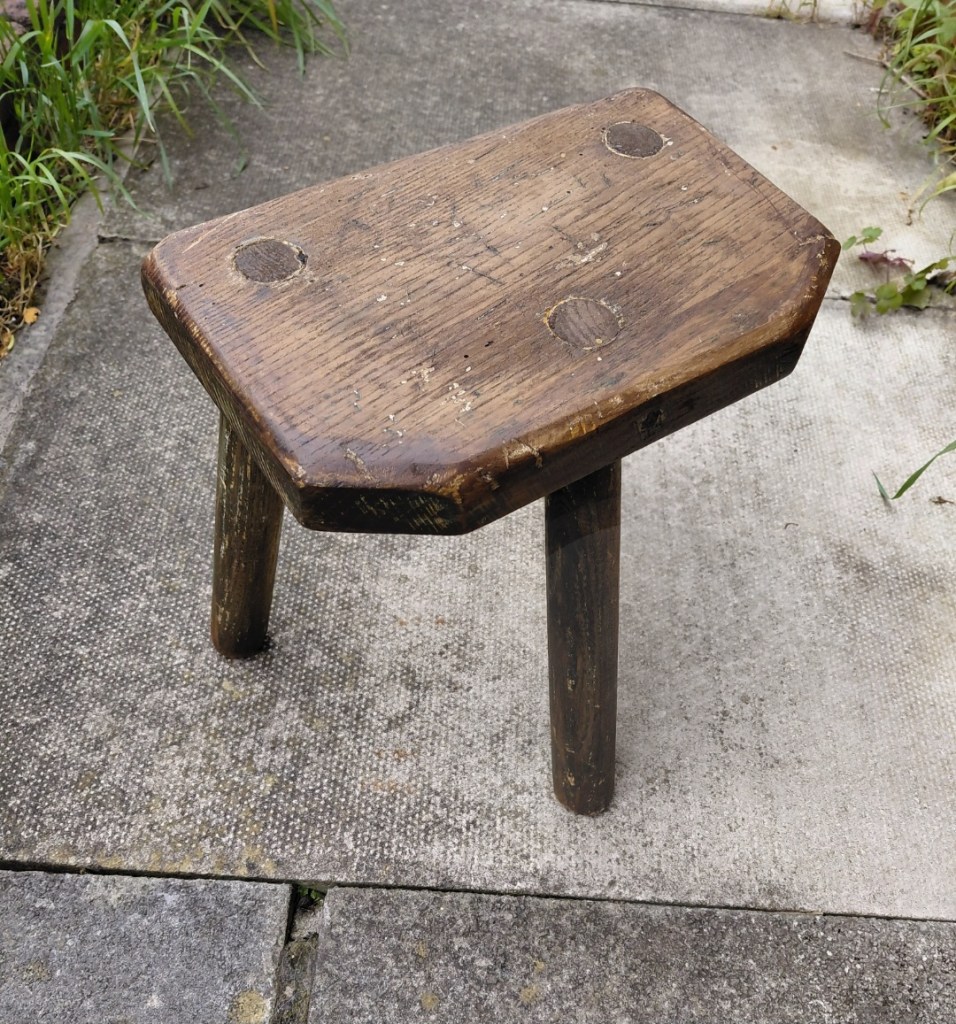
Then there’s the need for a stool. I found a 3 legged one in an antique shop..painted with white gloss but a great shape. After my lovely hubby removed 3 (I think) layers of paint with a little help from me, then some wood stain, it’s perfect!!
Food. I’ll be eating pottage, anything cooked in a pot, lots of seasonal veg, barley, maybe oats, salt, pepper and fresh herbs cooked in a huge pot to feed everyone. Bread is huge too..no pasta, rice or potatoes then! Any meal that has those, replace with bread. Cheese and bread made fresh daily in the dairy and bakhouse. There’s also a brewery so, lots of mead???
All in all quite a journey to get to this point. Now just two days away from setting off for the finale!
I’ve been quiet for some time as I’ve been very busy and doing a lot of planning.
Now it’s all go! In June I’m going to live, work and eat as a Tudor! Seriously!
In August last year I found out about a Tudor mansion, moated no less, that holds events throughout the year that are living history events. A couple of hundred (or more) people volunteer to do this. Amazing or what?
Anyway, this year, midsummer (20/6) onwards I’m going to be one of them. To begin you have to be interviewed and a decision is made re your position. I’m going to be in the wool shed, obviously. Next you need a name, a back story, and then the work REALLY begins.
Lots of pennies later and I have metres of wool fabric, natural and white linen, shoes, hats, basket, knife etc etc..the list is endless. I have to make my outfit.
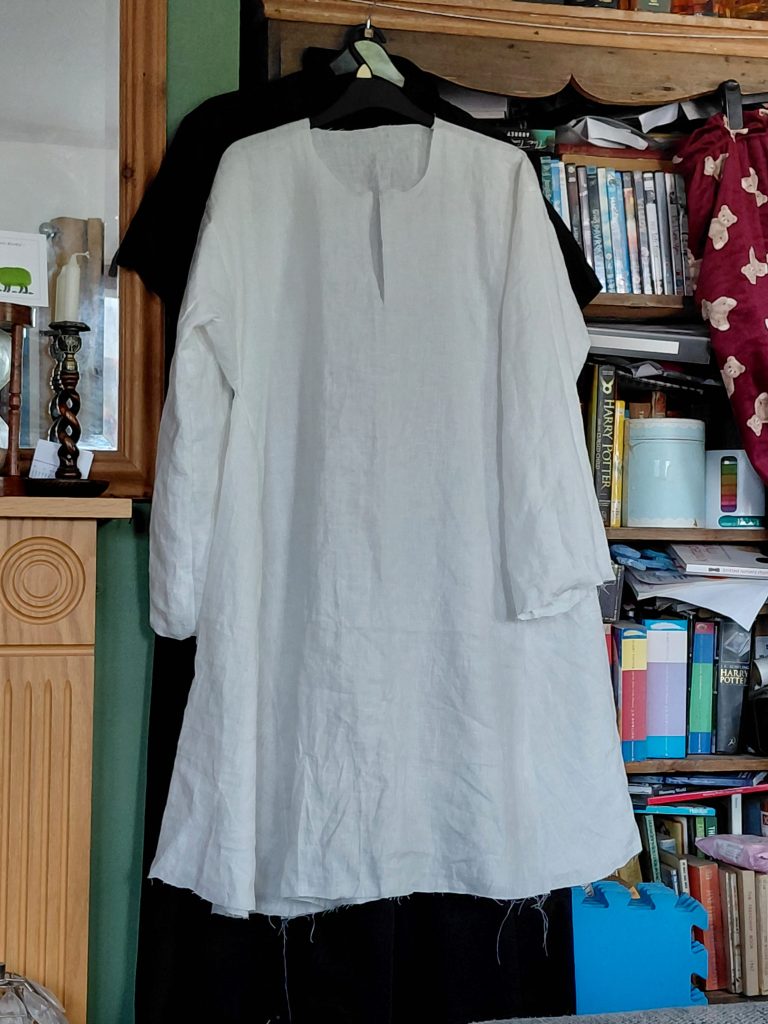
two shifts..undergarments – looks a bit like a long nights shirt – made of linen
a kirtle – a dress that’s laced up the front (no underwear then) – lined bodice with linen. No sleeves
sleeves- these are pinned on to the partlett when leaving to go outside
a partlett – looks a bit like a sailors collar, black wool with linen lining, sometimes just linen – covers the shoulders and bosom which is unseemly
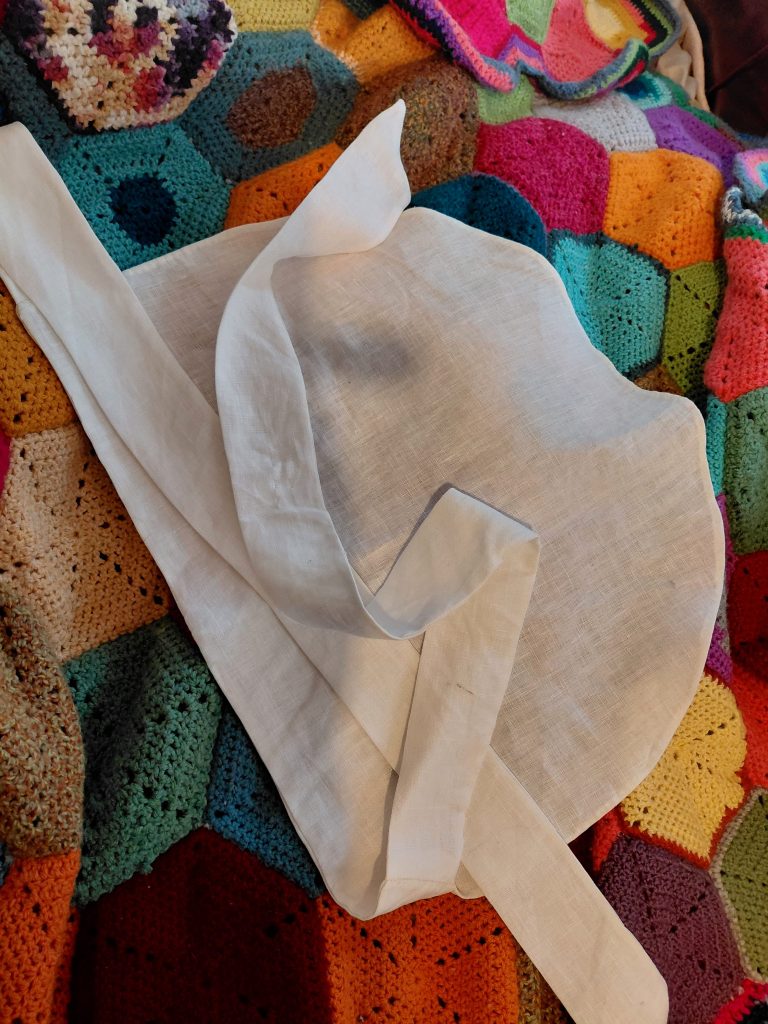
a coif – linen bonnet/hat to cover the head/hair
stockings/hose – wool, over the knee held up with woven garter
hat – knitted then felted..never leave home without a hat. Alternatively it could be straw
jacket – wool with natural linen lining
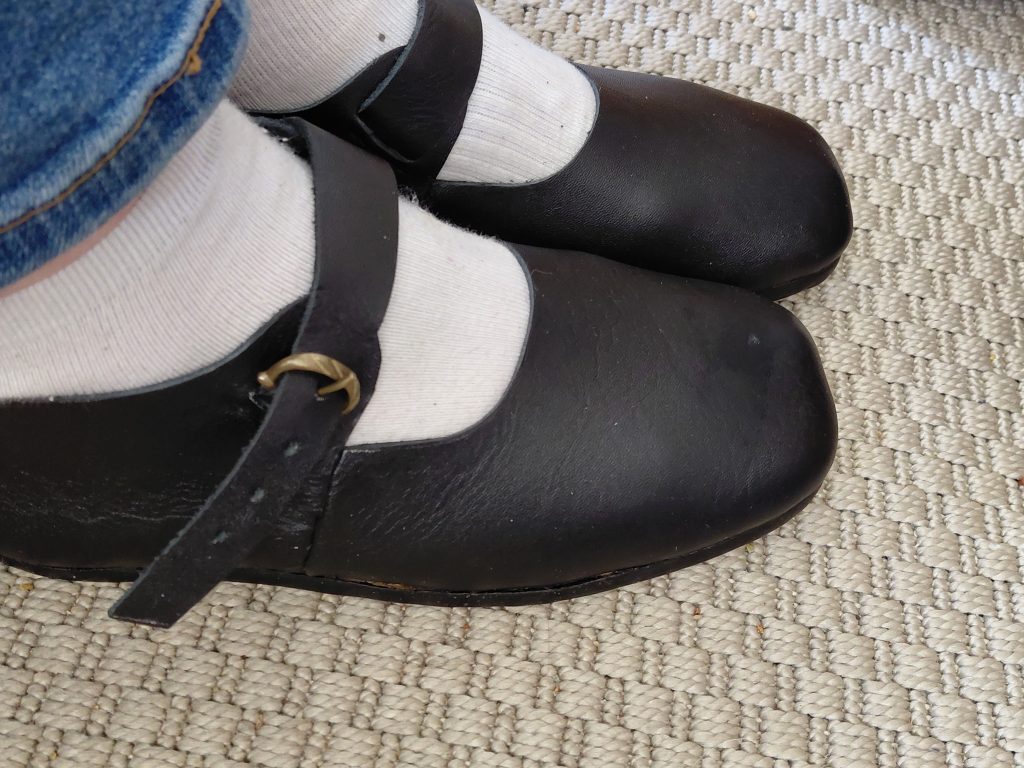
Then there’s everything else..shoes, basket, knife, belt, leather pouches to hang on belt, wooden plate, wooden bowl, wooden spoon, mug, pins, knitting needles (essential for me) brass or wood..the list is endless!
However, the planning and making is, and has been, part of the experience. I’m almost ready to go, almost all items finished.
While I’m there I can’t take pictures..no phones and no watches! I’m hoping people do and tag the hall so I can see them.
So, if any of you want to enjoy a fabulous, very full, day out, get some comfortable shoes on and spend the day at Kentwell Hall in Long Medford, Suffolk. You won’t regret it and may learn something as a bonus! I’ll be there from 21 June.
Anyone who knits, crochets or crafts in general I guess, will have heard of this. The basic premise is that you work a colour of a project every day for a year based on that days temperature.
Lots of people do blankets, so many rows per day, others do scarves and I’ve recently seen beautiful embroidered trees with one leaf per day.
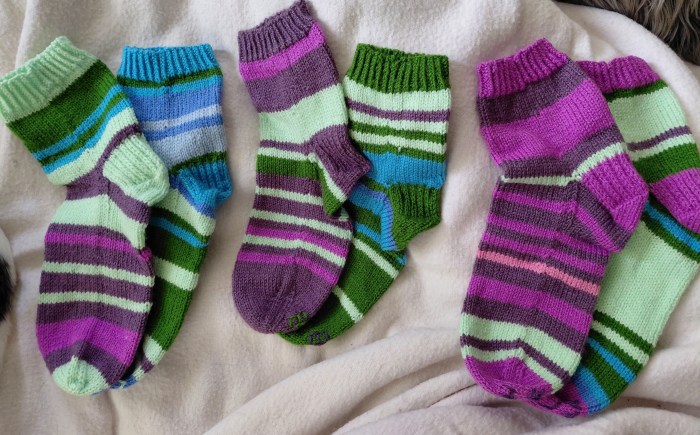
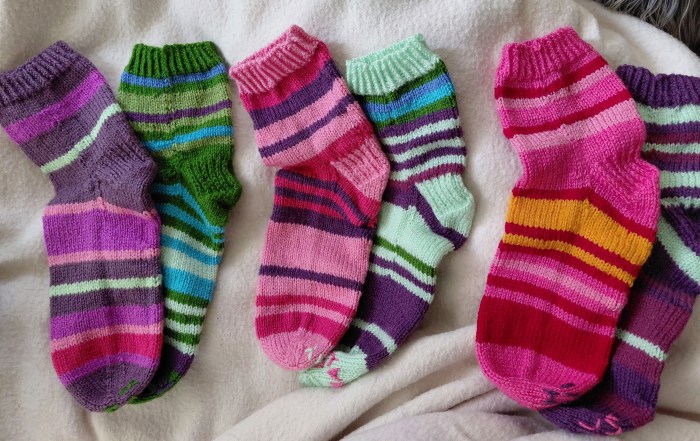
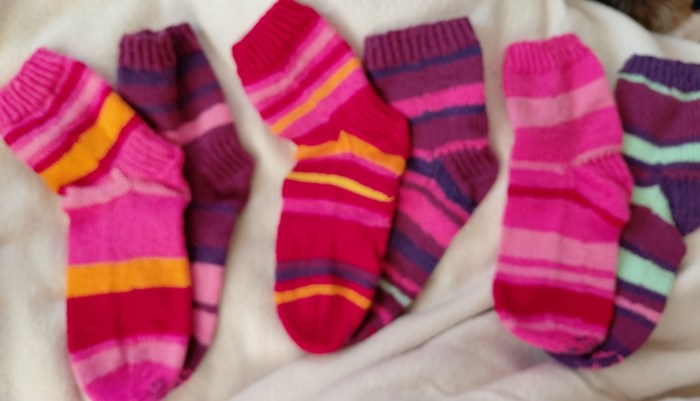
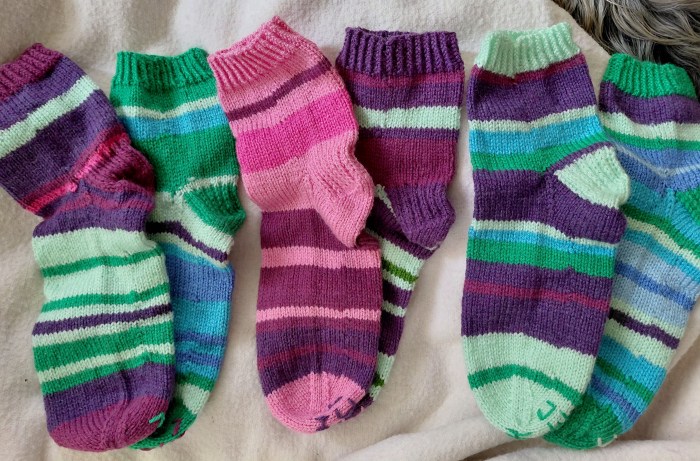
Having made a scarf, then a blanket I decided to venture further to socks!. One pair a month for 12 months. I then decided to use my year if birth.
Sounds simple on the face of it, go online, search for the Data(accuweather us great) and off you go. But no not so simple. Just to make me feel old the Data online didn’t go back that far!
What to do.
I decided to email the met office! I was very lucky to have my email land in the inbox of a lady called Joan. She responded that she also couldn’t access electronic data but that she had been down to the archive strongholds and taken photos of all data available for my home town for my chosen year, which she not only sent me but explained what each column was for! What a treasure.
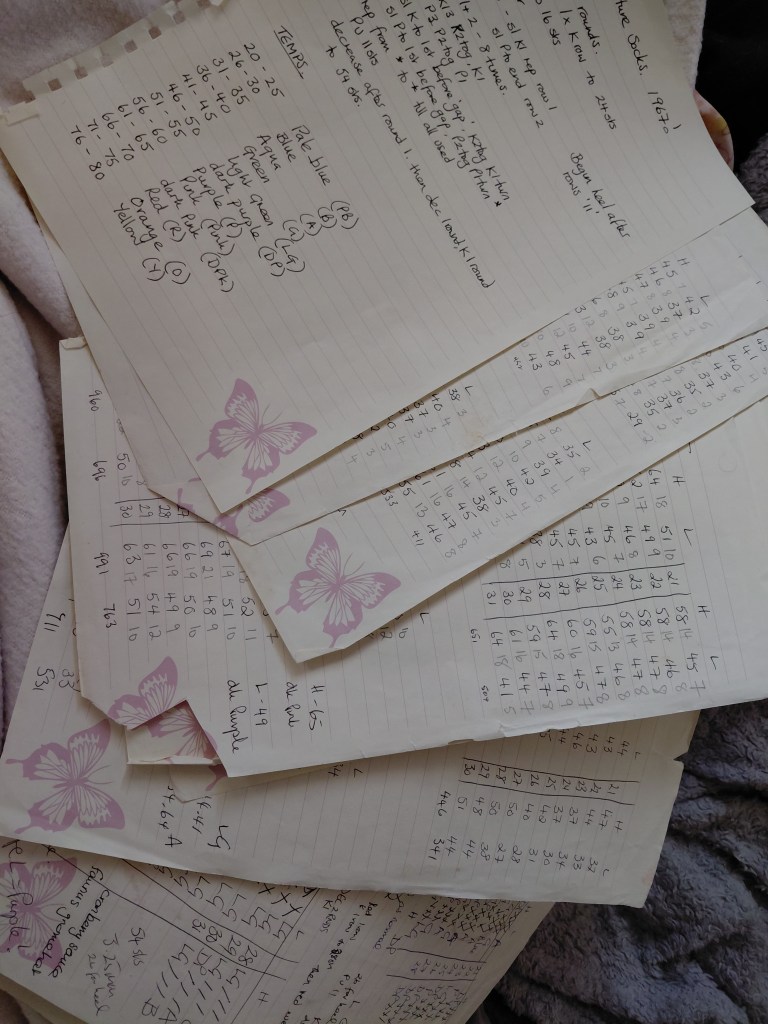
So..now I had my data. I then allocated a colour to a set of temperatures.
• 20-25 – pale blue
• 26-30 – blue
• 31-35 – aqua
• 36-40 – green
• 41-45 – light green
• 46-50 – dark purple
• 51-55 – purple
• 56-60 – pink
• 61-65 – dark pink
• 66-70 – red
• 71-75 – orange
• 76-80 and above – yellow
Next job was to work out how many rounds per day, yarn choice, and whether to do identical or fraternal socks. I decided on fraternal, one high temps, one low. I added cuffs, heels and toes in the average high and low respectively.
So my calculations began. Lots of paperwork, lots of maths before I could even start.
This is what I came up with!
DK yarn – amounts determined by temperature!
3.75 mm dpns or needles of your choice
Cast on 54 sts
CUFF
• k1, p1 rib fir 8 rounds using average temperature (low or high depending where you want to start)
LEG
Knit 3 rounds per day for 10 days
HEEL
work as below, or preferred heel, in high or low temp
Working back and forth on the 26 sts (leave other sts on hold),
row 1. (Slip1, knit1) rep to end
row 2. Slip 1, purl to end
repeat rows 1 & 2 another 4 times making 10 rows in total
next. Slip 1, knit 13, k2tog, turn
next. Slip 1, purl 3, p2tog, p1 turn
**next. Slip1, knit to 1 stitch before the gap that was made, k2tog, k1 turn
next. Slip 1, purl to 1 stitch before the gap, p2tog, p1, turn**
repeat the last 2 rows (from **-**) until all sts have been used. Place a stitch marker in the centre of these sts as this is your new beginning of round.
Now, joining in the next days colour at the beginning of the round, knit to the end of the heel then pick up and knit 11 sts down one side of the heel, knit across the held sts, pick up and knit 11 sts along the other side of the heel to the beginning again.
Assuming you are working on dpns you should have the heel sts plus 11 picked up sts on the first needle, needle 1, 28 sts on needle 2, and the 11 picked up sts plus remaining heel sts on needle 3
DECREASING
round 1. Knit to 3 sts before end of needle 1, k2tog, k1, knit across needle 2, needle 3 k1, k2tog, knit to end of round
round 2. Knit
repeat rounds one and 2 until you have 54 sts again not forgetting to change daily colour where needed.
continue straight working the stripes as required until you come to the end of the month.
for February work 3 rounds in high or low temperature colour before starting on the toe. For months with 30 days work 1 round of toe colour before starting on the toe. For all other months begin working on the toe
TOE
round 1. Needle 1, knit to 3 sts before end of needle, k2tog k1. Needle 2, k1, k2tog, knit to 3 sts before end of needle, k2tog, k1. Needle 3, k1, k2tog, k to end of round
round 2. Knit
rep rounds 1 & 2 to 24 sts the repeat rounds 1 only to 16 sts
My sister asked me if I knew how to make a book cover that she’d seen…I didn’t but said I’d give it a try!
So here it is! I’m using UK crochet terms
you will need:
any yarn and relevant sized crochet hook..e.g. dk yarn, 4mm hook
scissors, booking, stitch msrkers, a button
And a book!
start by making a magic ring..you can find really good tutorials online..(or alternatively chain 4, join with a slip stitch to make a circle and work from there)
Abbreviations
ch – chain
tr – treble
slst – slip stitch
Next: ch2, then 2 tr crochets into the magic circle (or ring), ch2, 3 tr crochet, ch2, 3 tr crochet, ch2, 3 tr crochet, ch2, sister into the top of the original ch2.
next: ch2, then (tr crochet into the top of the next 2 treble crochets up to the ch2 space. Tr crochet into the ch space, chain 2, tr crochet into the chain space) repeat another 3 times. Slst to top of the first ch2.
you should now have 4 ch spaces with 5 tr crochets between each one.
continue in this manner, increasing the number of tr crochets between the ch spaces by two each round.
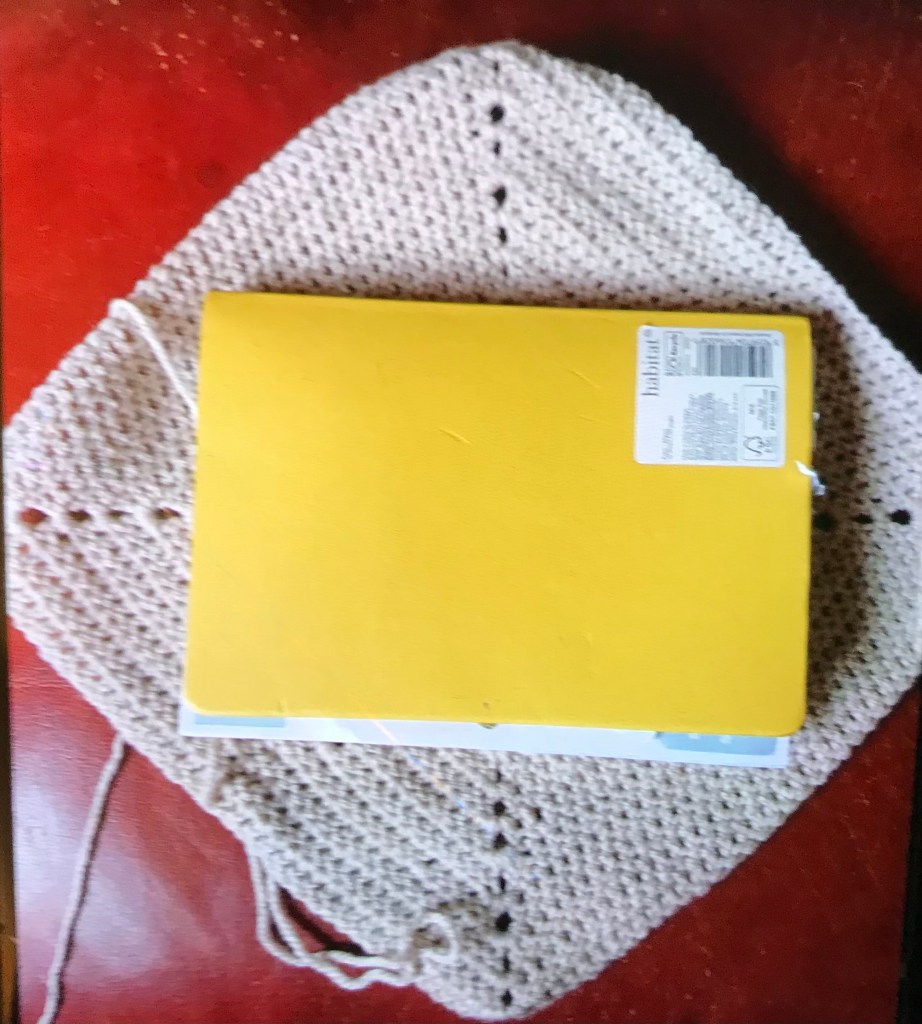
the size of the book you want to cover will determine how many rounds you will need.
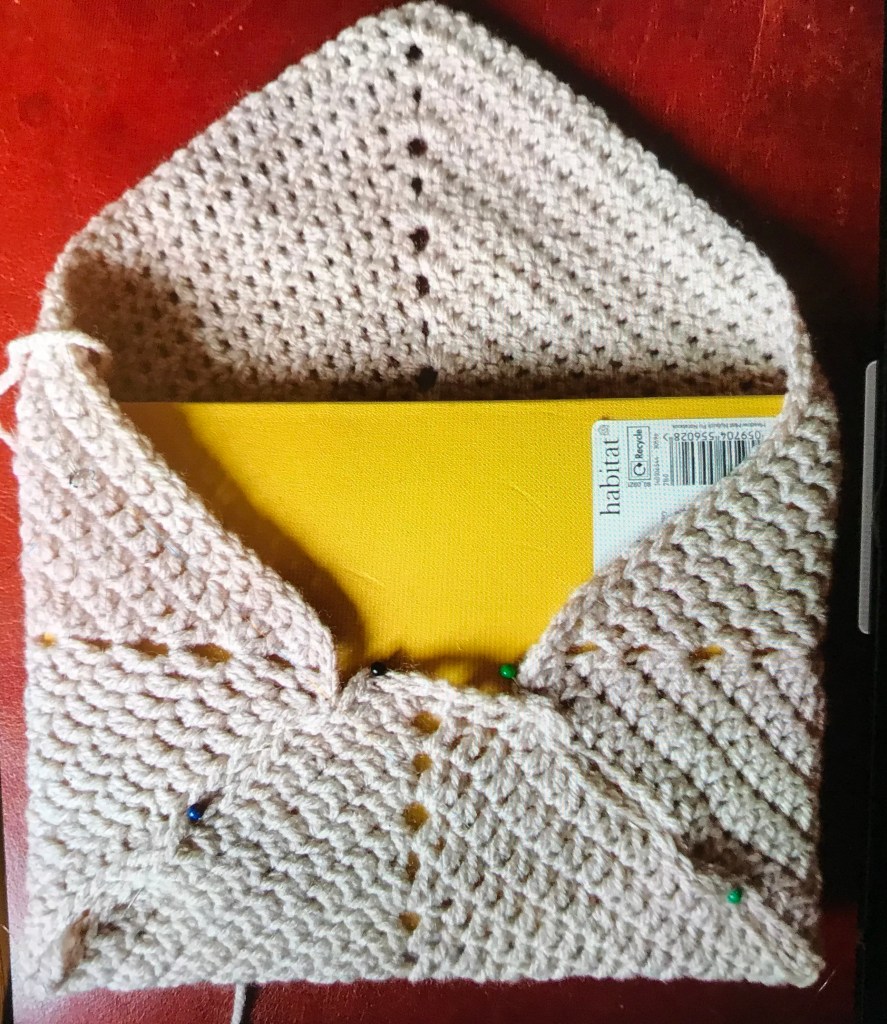
To check if it’s large enough I placed the book on the cover as below. Fold the bottom three corners as shown and crochet the two edges together with slip stitches or, alternatively, sew together, on either side as shown.
Next, using the same yarn, or another colour if you prefer, make the scalloped edge..
Ch 1, sc in same st. (skip 2 sts, 5 dc in st, skip 2 sts, 1 sc in st). Rep all the way across to the other side of the envelope fold over. If, when you get to the point, it doesn’t quite fit..e.g. the scallop wouldn’t be either immediately at the top or eveni
lay either side, I reduced the number of sts I left between skipping just one stitch at times, in order to ensure an even scallop either side or at the point if that makes sense.
once you’ve fastened off all ends, sew on a button where the point would land and you’re done.
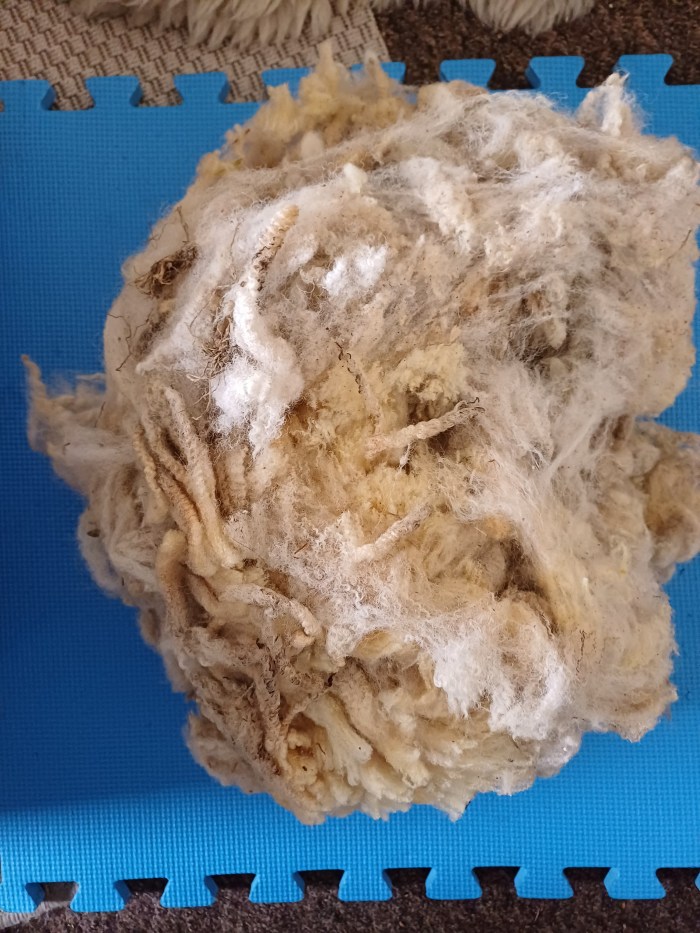
On Sunday I got my very first fleece, well part of one. Not sure of the breed but I’ll find out.
I’ve been watching some YouTube videos on how to clean ready for spinning and today is the day I try a bit for the first time!.
I’m planning to just clean a small amount first, see how it goes, then, once dry, I can card then spin it to see how it goes. All being well I’ll then do the rest…watch this space!
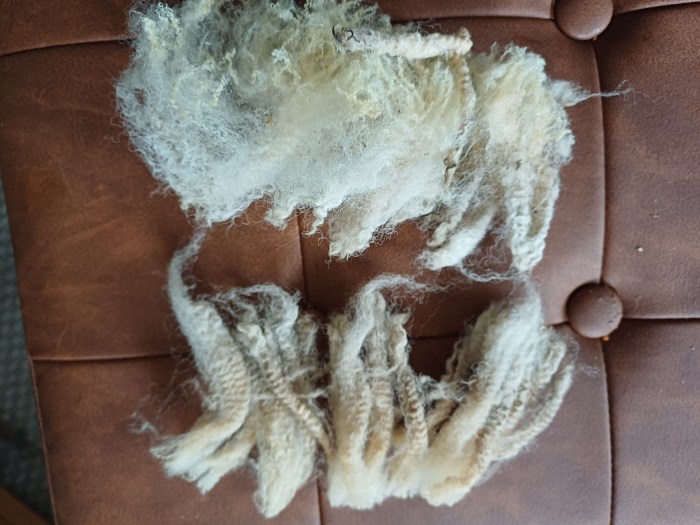
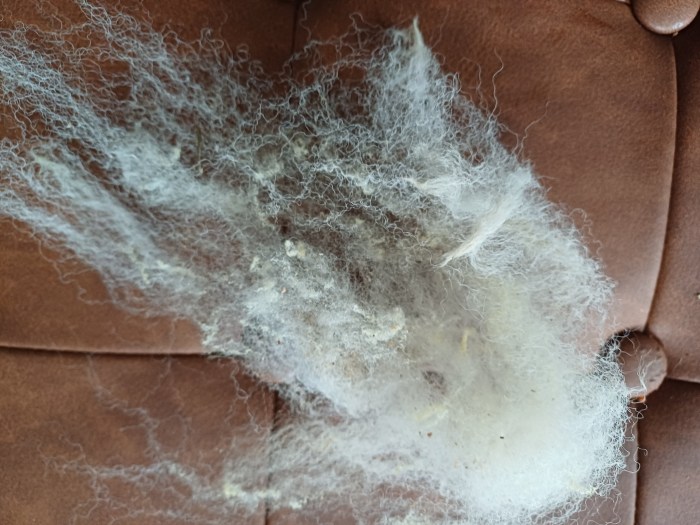
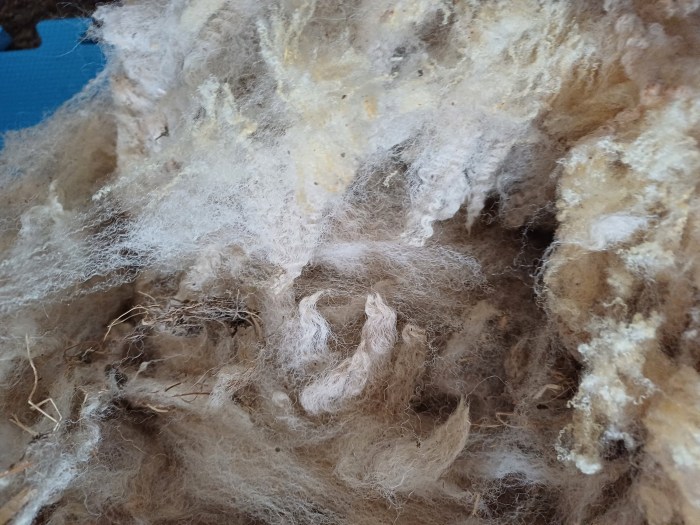
from top to bottom
Quite yellow in places
inside locks/outer locks
fluffed out piece from near the skin
lots of different colours
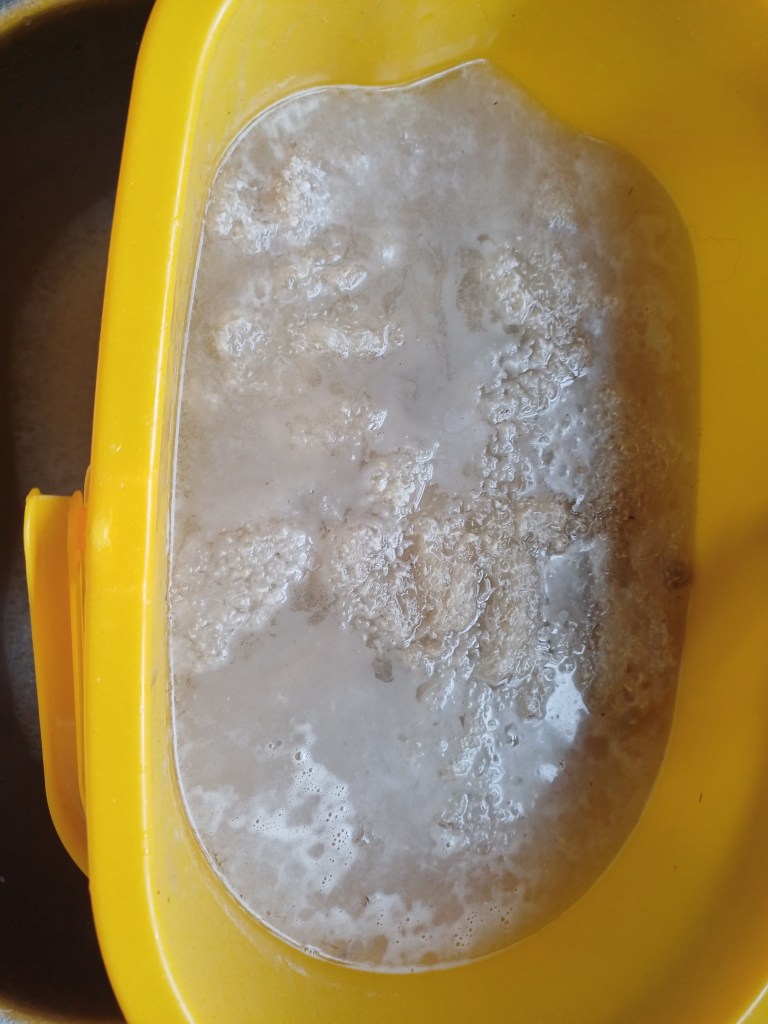
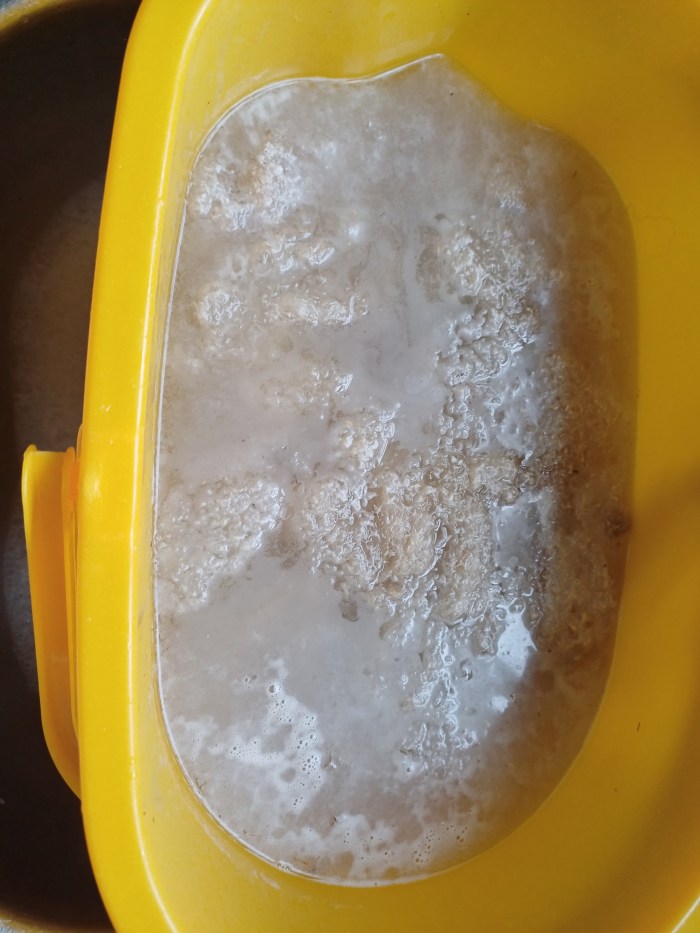
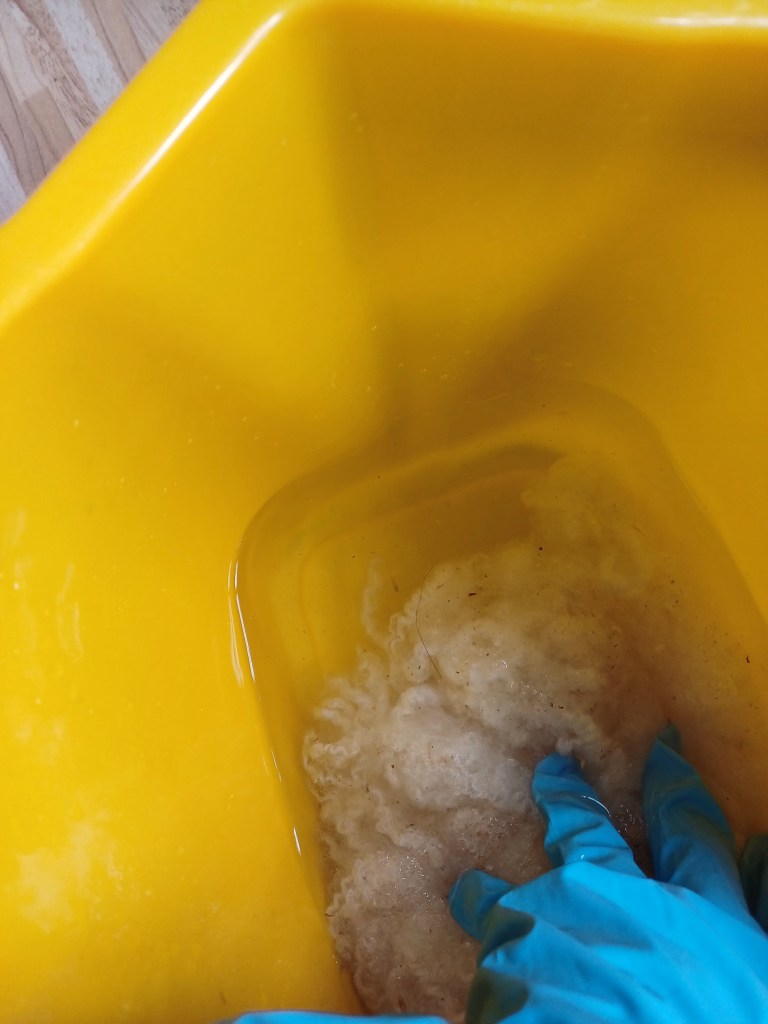
In very hot water with wool wash liquid. Making sure not to agitate it too much I added a handful or two of the fleece. I’d noted that the buckets had always been filled empty then fleece added, not fleece then water.
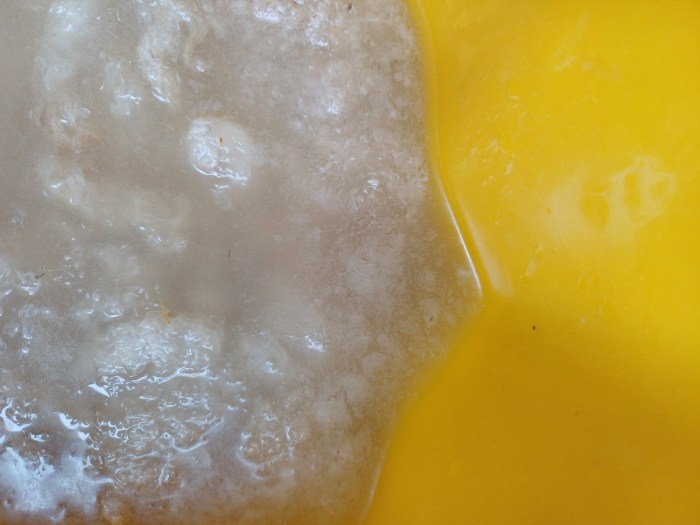
Immediately the water started to discolour!
after 10 minutes you can see the lanolin starting to rise. I know not to let it cool you much as it will redcoat the fleece
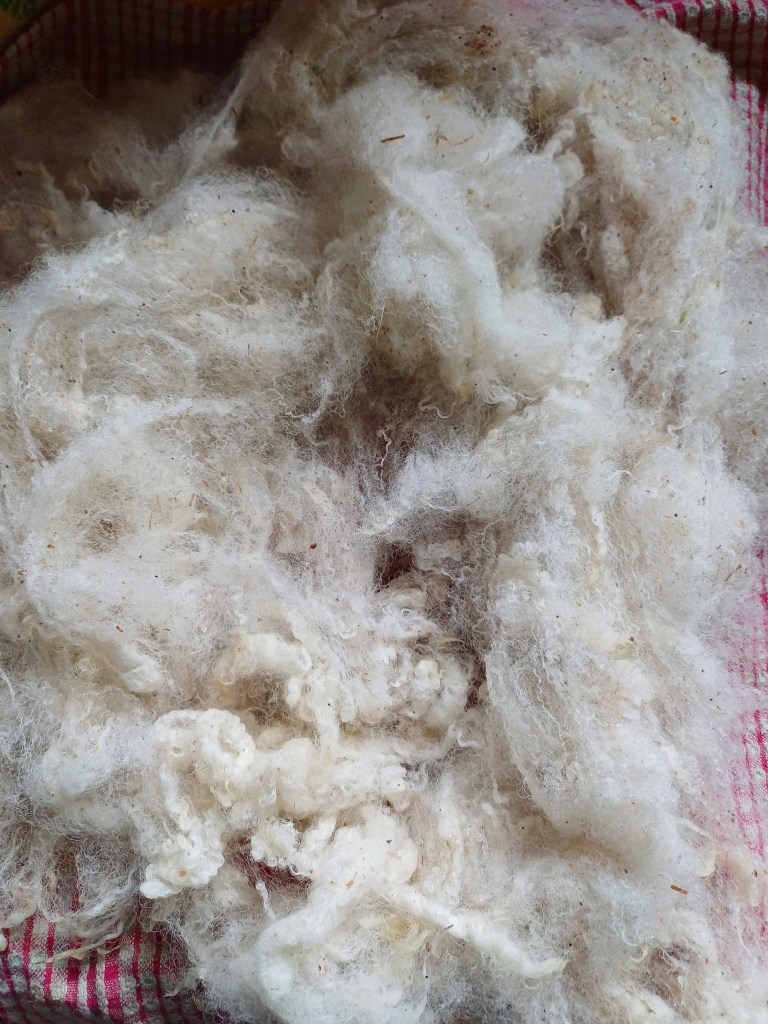
once rinsed, water running clear, it’s been left out to dry
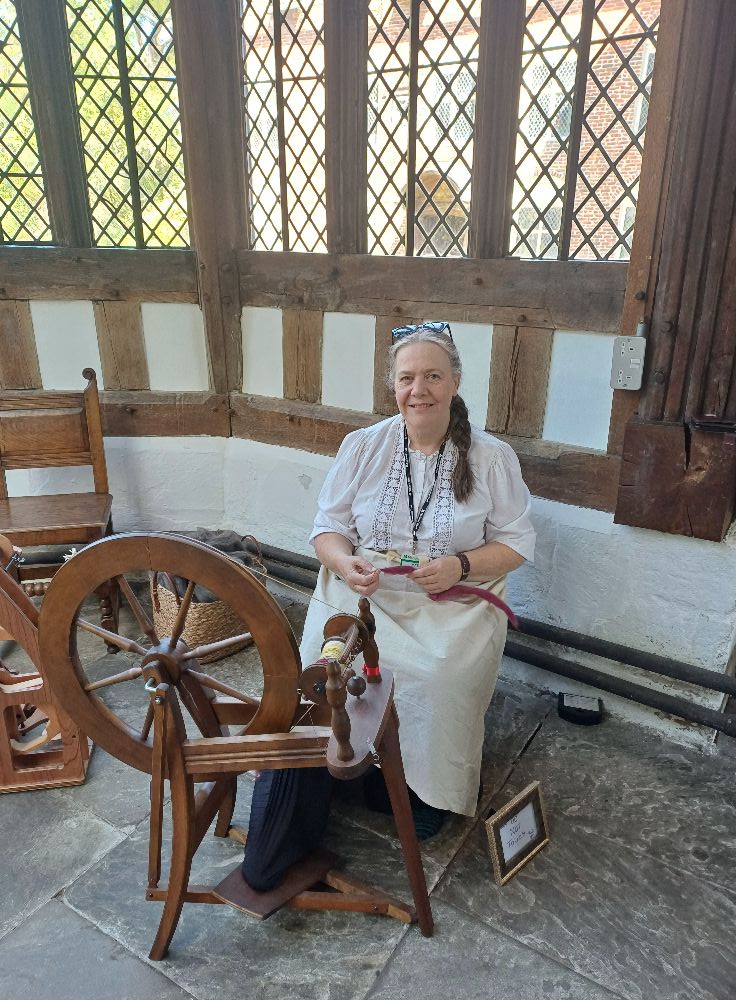
I love spinning where people can see me, ask questions and feel the joy of the whole process. In November last year I went to Rufford Old Hall in Rufford, Lancashire and spent the day spinning and talking to visitors about spinning, it’s history and processes.
To say I enjoyed it is an understatement! I loved it so much I’ve kept going back! The hall is beautiful. Owned and managed by the National Trust it brings history alive for old and young. The gardens are glorious too.
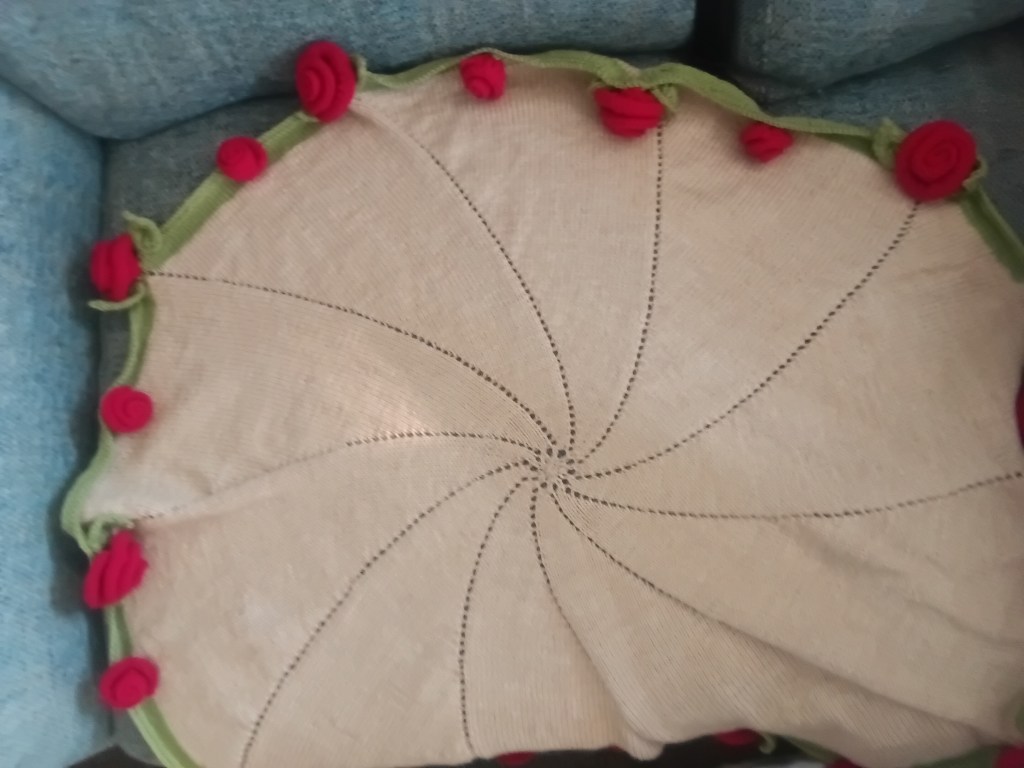
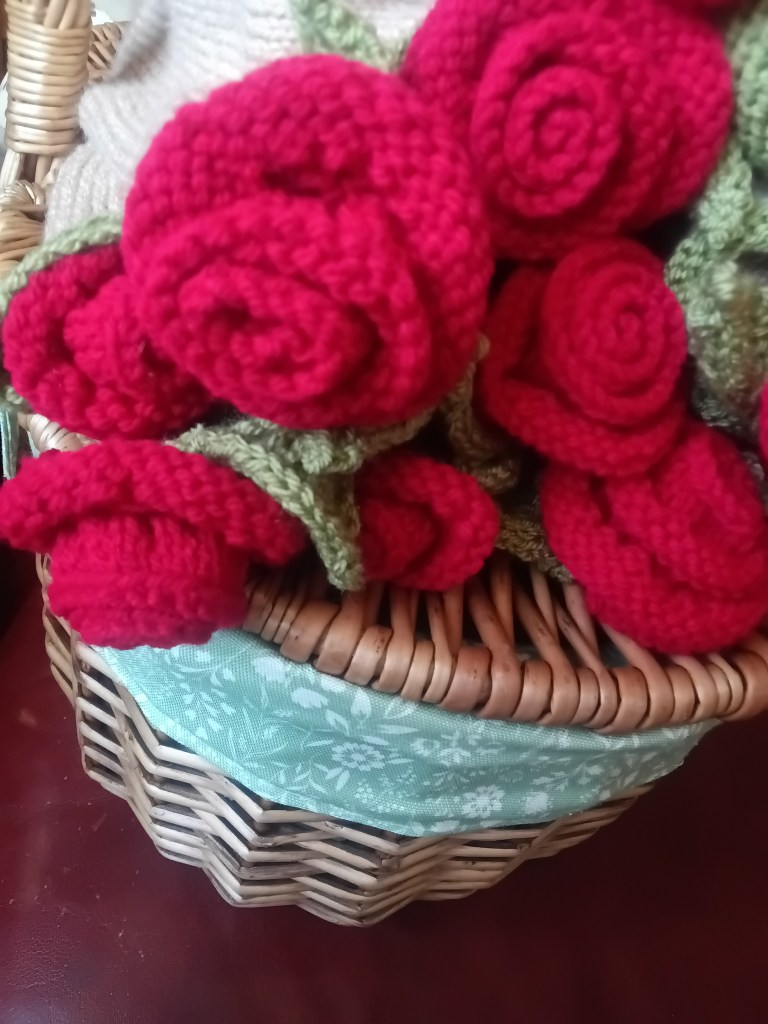
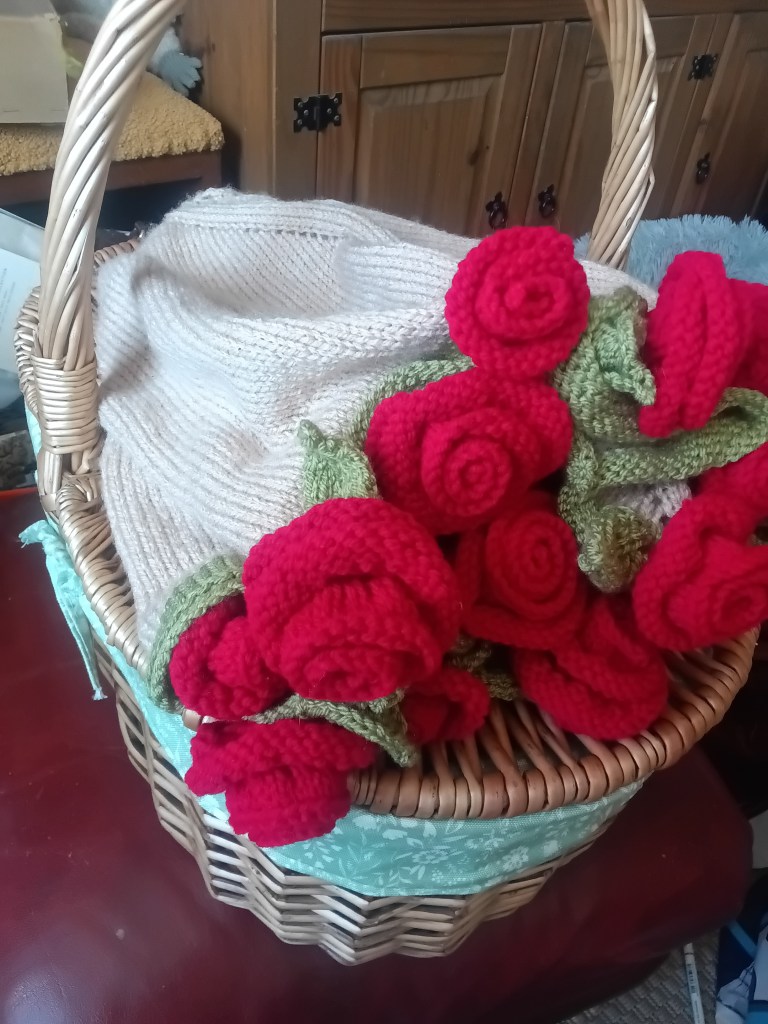
I fell in love with a crochet blanket making the rounds..but I prefer to knit.
I decided to make one, so here’s the pattern for those who, like me, prefer to knit. I’m happy to share this for free but, please credit me with the pattern if you make it.
Thank you
Cate x
You will need
200g dk main colour for the blanket
100g dk green
100g dk flower colour if choice
4mm dpns; 4mm circulars 60cm and 100cm
Pins
Needle for sewing
ABBREVIATIONS
K – knit
P -purl
KFB – knit into the front AND back of the stitch to increase
YO – yarn over
Sts – stitches
PM – place marker
Rep – repeat instructions in the brackets
Sl – slip
K2tog – knit 2 sts together
P2tog – purl 2 sts together
Sl1k2togpsso – slip 1, knit 2 together and pass slipped stitch over
CO – cast on
BO – Bind off
BLANKET
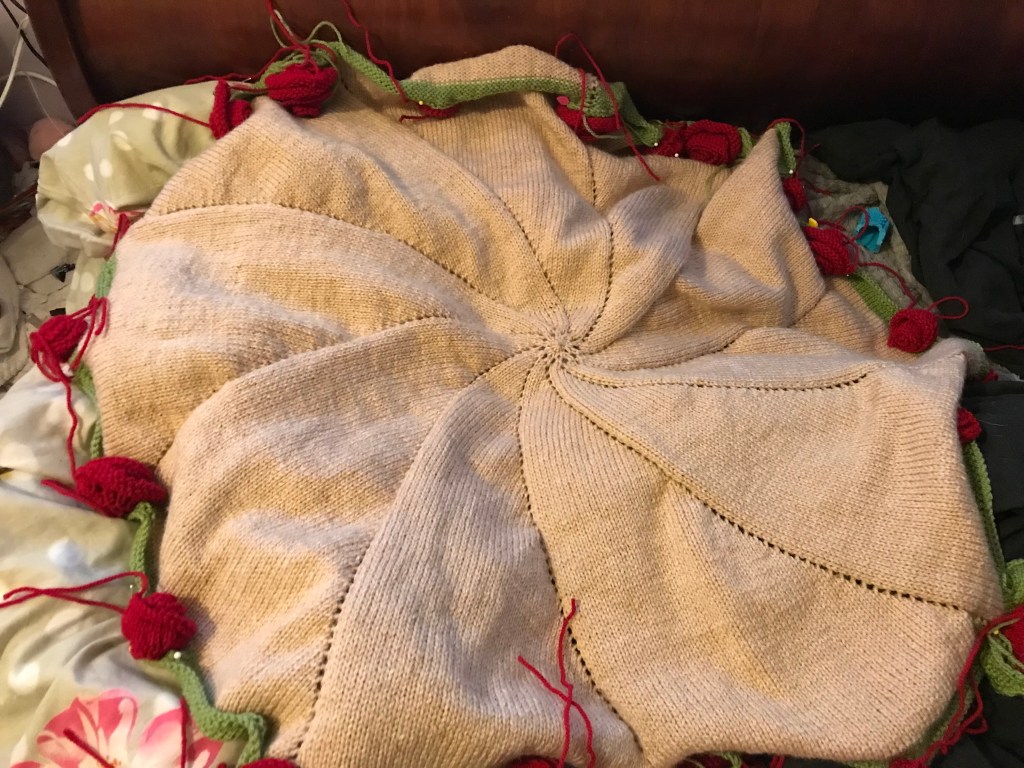
CO 5 sts on dpn and knit one row.
Next: KFB in each st (10 sts)
Join to work in the round placing a marker to mark the beginning of the round
1. (k1, yo) rep to end of round
2. K all sts
3. (k2, yo) rep to end of round
4. k all sts
5. (K3, yo) rep to end of round
6. K all sts
Continue in this way adding 1 stitch to each of the 10 sections. I added a stitch marker after the yo of each section..a very different one to mark the beginning of the round.
When you have too many sts change to circulars as appropriate.
Use up all 200 grammes. It’s likely there will be 400-500 sts by the end!
Now join in the green and continue for around 6 rounds. Work one purl round without increases and then bind off.
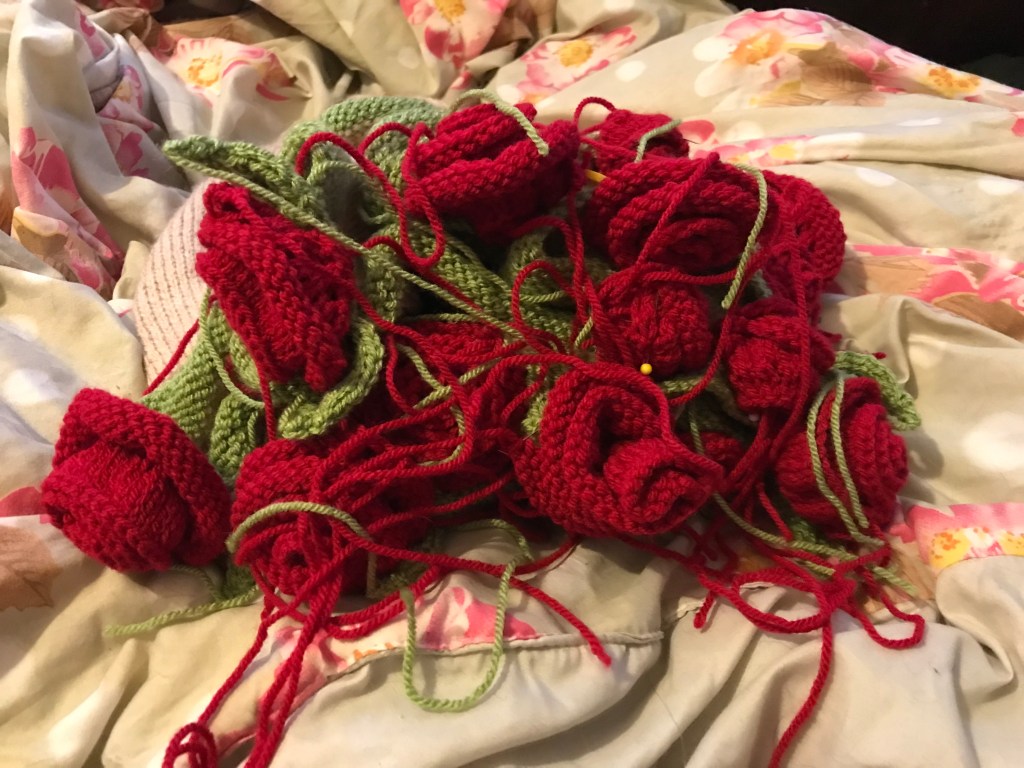
FLOWERS
Small – make 10 in red or chosen colour
CO 24 sts
1. sl1, k to end
2 and all alternate rows. Sl1, p to end
3. Sl1 (yo, k1) rep to end
5. Sl1, k to end
7. Sl1, k to end
9. BO
Large – make 10
1. Sl1, k to end
2 and all alternate rows. Sl1, p to end
3. Sl1, (yo, k1) rep to end
5. Sl1. (yo, k1) rep to end
7. Sl1, k to end
9. Sl1, k to end
11. BO
Roll up, the edges will naturally curl over. Using ends fasten off the flower to secure it then stitch to blanket. Place the large ones at the ‘points’ of the blanket where the yous are, the small ones along the edge between
Leaf – make 20 in green
CO 3 sts
1. K1, yo, k1, yo, k1
2 and all even. P
3. K2, yo, k1, yo, k2
5. K3, yo, k1, yo, k3
7. K4, yo, k1, yo, k4
9. K3, k2tog, k1, k2tog, k3
11. K2, k2tog, k1, k2tog, k2
13. K1, k2tog, k1, k2tog, k1
15. K2tog, k1, K2tog
17. Sl1k2togpsso
BO
Fasten off all ends and sew one to each side of large roses
6 responses to “ROSE BOUQUET BLANKET”
Jay
should the only knit line be a purl line. Mine doesn’t look like yours
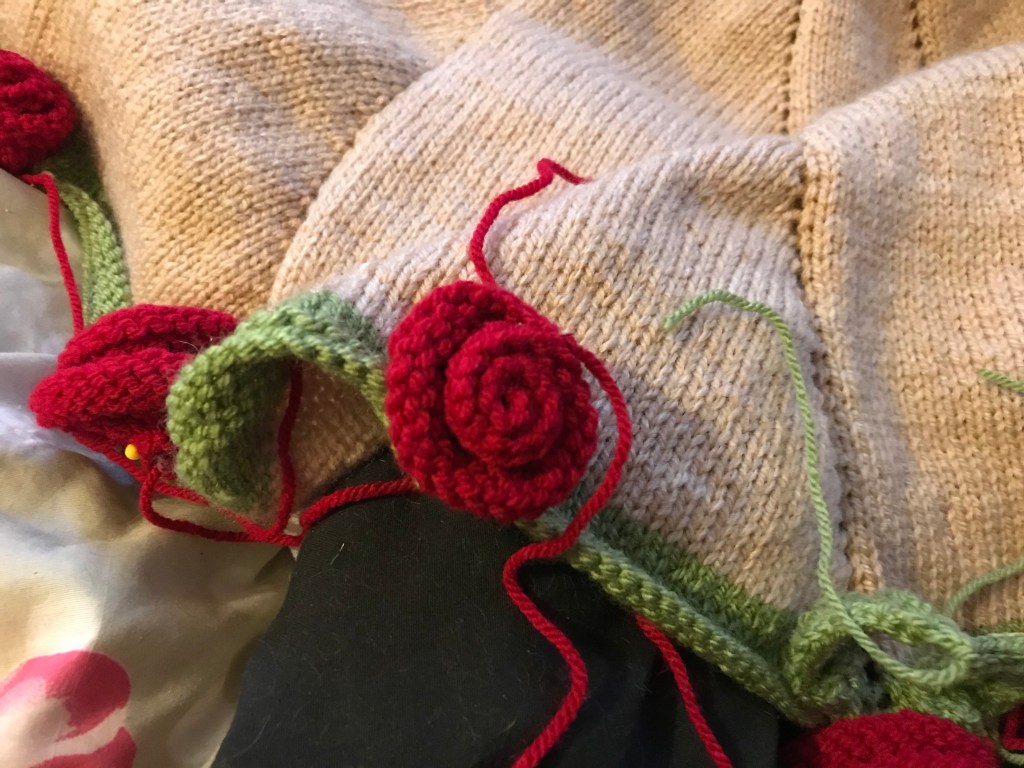
Over the last few weeks I’ve been seeing lots of posts and ads for a rose bouquet blanket, it’s beautiful. However, it’s crocheted.
Now don’t get me wrong, I like crochet, I can crochet BUT I prefer to knit. Could I find a knitted version? Not at all. So I did what any crafty person would do, I started to make my own pattern.
Im almost finished and when I am, I’ll post the pattern x





Leave a Reply